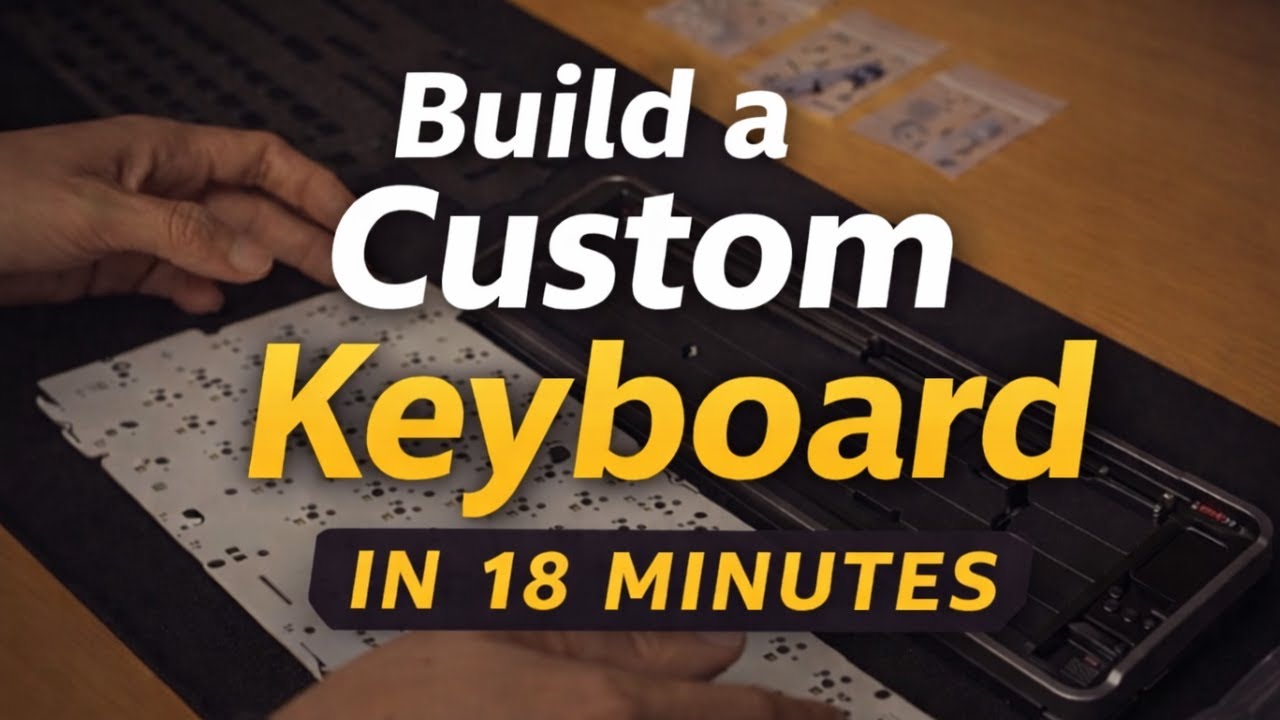
Choosing Your Layout and Parts
Before touching a single keycap, you need to decide what kind of keyboard you're building. The three most common layouts are full-size (104 keys), tenkeyless/TKL (87 keys), and 60% (61 keys). Each layout changes the case, PCB, and plate you'll need.
Essential parts checklist:
| Part | What It Does | Budget Range |
|---|---|---|
| PCB (Printed Circuit Board) | The brain -- registers every keypress | $30-80 |
| Case | Housing for all components | $40-150 |
| Plate | Metal/plastic layer between switches and PCB | $20-50 |
| Switches | The mechanism under each key | $20-60 (for 70 switches) |
| Keycaps | What your fingers actually touch | $30-120 |
| Stabilizers | Keeps large keys (spacebar, shift) from wobbling | $10-25 |
For a first build, a 65% or 75% hotswap PCB is the sweet spot. Hotswap means no soldering required -- you just press switches into sockets. Brands like KBDfans, Keychron, and Mode offer reliable starter kits that bundle the case, PCB, and plate together.
The biggest beginner mistake is buying parts that don't fit together. Always verify compatibility: check mount style (gasket, tray, top), switch type (MX-compatible vs not), and PCB layout before ordering.
Switches -- Linear, Tactile, or Clicky
Switches are the soul of your keyboard. Every keypress feeling comes down to this choice. There are three families:
Linear switches move straight down with no bump or click. They are smooth, quiet, and popular with gamers. Cherry MX Red is the classic, but Gateron Yellow and JWK linear switches offer better smoothness at lower prices.
Tactile switches have a noticeable bump partway through the keypress. Many typists prefer these because the bump tells your fingers the key registered without bottoming out. Cherry MX Brown is the entry-level tactile, but enthusiasts often recommend Boba U4T or Holy Panda for a more pronounced bump.
Clicky switches add an audible click sound to the tactile bump. Cherry MX Blue is the most common. They are satisfying solo, but your coworkers will hate you.
| Spec | What It Means | Typical Range |
|---|---|---|
| Actuation Force | How hard you press to register | 35g-67g |
| Travel Distance | Total key movement | 3.4-4.0mm |
| Actuation Point | Where the keypress registers | 1.5-2.0mm |
One key technique that dramatically improves any switch is lubing. Applying a thin layer of Krytox 205g0 to the stem and spring reduces friction, removes scratchiness, and makes even budget switches feel premium.
Stabilizers -- The Overlooked Game Changer
Stabilizers (stabs) support the larger keys: spacebar, enter, shift, and backspace. Bad stabs make your keyboard rattle and feel mushy. Good stabs make it feel like a $500 board.
Most keyboards come with plate-mount or PCB-mount (screw-in) stabilizers. Screw-in stabs are almost always better -- they are more secure and easier to mod.
The stabilizer mod checklist:
- Clip the feet -- Factory stabs have extra plastic nubs. Clip them flush with nail clippers for a tighter fit.
- Lube the wire -- Apply dielectric grease (Super Lube) to the stabilizer wire where it contacts the housing. This eliminates the metallic rattle.
- Lube the housing -- Krytox 205g0 on the inside of the stab housing where the stem slides.
- Band-Aid mod (optional) -- Place a small piece of fabric band-aid on the PCB where the stabilizer impacts. Softens the bottom-out sound.
- Holee mod (optional) -- Wrap the stabilizer wire with a thin strip of band-aid material to fill the gap between wire and housing. Eliminates virtually all rattle.
The difference between stock and modded stabilizers is probably the single biggest quality improvement in any keyboard build. Even a budget board sounds custom when the stabs are done right.
Assembly -- Putting It All Together
With all your parts ready and mods done, it is time to assemble.
Step-by-step assembly order:
- Install stabilizers onto the PCB first. If screw-in, tighten gently -- overtightening can crack the PCB.
- Place the plate over the PCB, aligning screw holes or gasket points.
- Insert corner switches first -- put switches in the four corners to hold the plate and PCB together while you install the rest.
- Fill in remaining switches -- press each switch firmly until it clicks into the hotswap socket. Make sure pins are straight; bent pins are the #1 cause of non-working keys.
- Test every key before putting on keycaps. Use a key tester website. Fix any non-registering keys now -- it is almost always a bent pin.
- Mount the PCB+plate assembly into the case -- follow the mount style (screws for tray mount, drop-in for gasket mount).
- Install keycaps -- press each keycap onto its switch stem. Match the keycap profile row (R1-R4) to the correct keyboard row.
- Add case foam (optional) -- a layer of foam between the PCB and case bottom reduces hollow sounds and adds a thocky feel.
Common pitfalls: forgetting to flash firmware before assembly, using wrong stabilizer sizes, and forcing switches with bent pins into sockets (which destroys the socket).
Firmware and Sound Tuning
Your keyboard is assembled, but there is still work to do. Most custom PCBs run QMK or VIA firmware, which lets you remap every key, create layers, and add macros.
VIA is the beginner-friendly option -- it runs in your browser, shows a visual keyboard layout, and changes apply instantly. No compiling, no command line.
QMK is more powerful but requires compiling firmware. You can do things VIA cannot: tap-dance (one key does different things based on single/double tap), combos (press two keys simultaneously for a third output), and custom LED animations.
Sound tuning is the final frontier:
- Plate material -- Aluminum = higher pitched, more clacky. PC/FR4 = deeper, more thocky. POM = somewhere in between.
- Case foam -- More foam = more muted, less hollow. Common materials: EVA foam, sorbothane, shelf liner.
- Tape mod -- Layers of masking tape on the back of the PCB. Cheap, surprisingly effective at deepening sound.
- PE foam mod -- A layer of PE foam between the PCB and switches. Creates a distinctive poppy sound signature.
The goal is not to copy someone else's sound -- it is to find what you enjoy.